martes, 30 de abril de 2019

Measuring: THE TIME PART 2

Resultado de imagen de erase una vez la medicion del tiempo

Hello everyone!

馃摻️ In today's post, we will comment on the following video脡rase una vez... La medici贸n del tiempo. This first part lasts about 25 minutes. As we talked about in the previous post, in it we are going to find out our friends discovering the measure of time in different parts of the world, as well as in different periods of time in the human life.

As we said in the previous post, although we found enough content related to the topic we want to work on, as an introduction is being made to the topic, in class we will do the same with the students, thus making an introduction to Measurement. Therefore, the type of game or activities that we do for this part must be motivating for the students and that they transmit curiosity to know the contents that will come next in the subject.

Since our friends in the video travel through the time, we will tell the students that we will also do a journey to these ages in order to know "how did they measure the time?" In this class we will do games and activities to introduce the measure to the students. All these contents are related with the history subject, so you can mix the classes so as to the students do not lose the motivation but to review and learn new contents. In addition, we will do 3 experiments, with which the students will be fascinated and motivated for later classes.

First of all, it is important to make an introduction in the topic, it is necessary to explain the contents that we will deal with. For that reason, we can use this web page where the conversion of units in the time system is explained, so we can explain to the students in a brief introduction how we will do the exercises below.


⚗️ EXPERIMENT: for the experiments that we are going to carry out in class we will continue working the measurement of time but this time the students will build their own clocks. In the video we can see the different clocks that have existed in history until reaching the current "smartwatches", but to understand what we have now we must look back in time.
That is why the first watch that we will create will be a solar one, the manufacture of this watch is very simple so students can do it in groups or in pairs. In the following link you will find all the information to do it, so I leave this video where you can see the manufacturing process.


Resultado de imagen de reloj solar

The next watch that we will build will be the water clock or clepsydra, following the timeline created in the history and in the video. This clock is also very easy to do, being able to follow the same grouping as in the previous one. The following video explains step by step how to create it as well as the necessary materials for it.
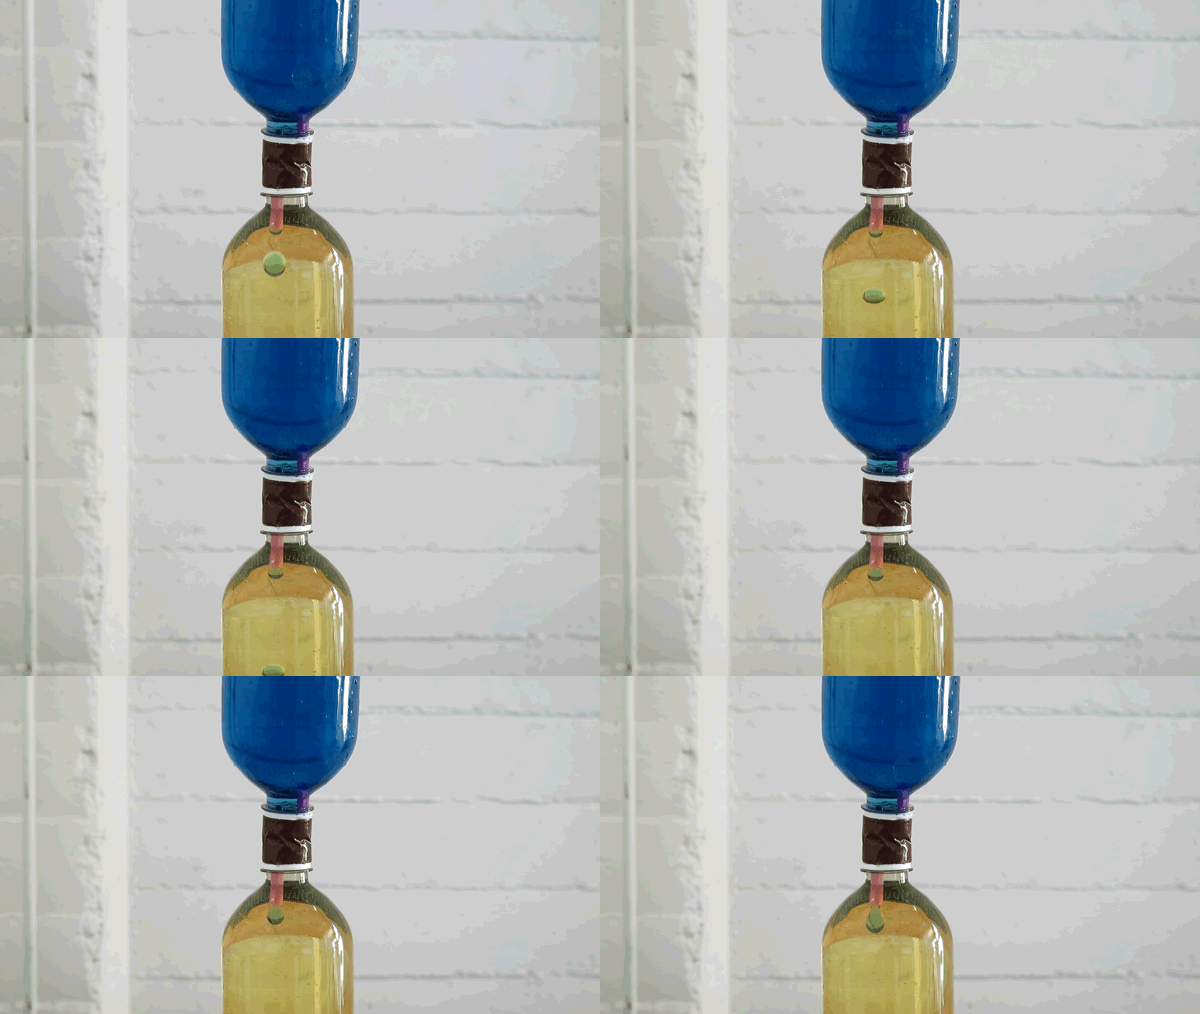
Resultado de imagen de reloj agua


Finally, we will create an hourglass. As I said before, in this link I leave you a video where you can see the creation process.

Resultado de imagen de reloj de arena casero


I hope you stay and help us in this exciting trip through The Time!

Marta Woman Teacher: Light Skin Tone

馃摉 GLOSSARYclepsydra: in ancient times the sun was used to measure time during the day, but sundials weren't much help after dark, so peoples around the world invented clocks that used dripping water to mark the hours. In one kind of water clock, possibly invented by the Chaldeans, a vessel was filled with water that was allowed to escape through a hole. The vessel's inside was marked with graduated lines, and the time was read by measuring the level of the remaining water. The ancient Greeks called their water clocks "klepsydra" ("water thief"), which comes from "kleptein" ("to steal") and "hyd艒r" ("water"). English speakers stole "clepsydra" from the Greeks in the 16th century, but actual water clocks have become increasingly rare.

martes, 23 de abril de 2019

Measuring: AS HER脫N DE ALEJANDR脥A DID

Resultado de imagen de los inventores heron de alejandria

Hello everyone!

馃摻️ In today's post, we will comment on the fifth video脡rase una vez... Heron de Alejandr铆a. This video lasts about 25 minutesIn this happens the same as the last one, we are not going to find out specific contexts talking about measurment issues, but we, as a teachers, have to think about a way to introduce the topic, and in the following lines I am going to give you some clues to do it. 

First of all, we must create a context where we explain our students that the video that we are going to see speaks about several important and transversal contents between subjects but at the end of it we will focus on one of them.

This time our friends talk about the some aspects relate with mathmatics, and the Teacher will be in charge of explaining who Her贸n de Alejandr铆a was and what he did in relation with the steam machine.
In this class we will do games and activities to introduce the topic to the students. All the contents in the video are related with the history and mathematics subjects, so you can mix the classes so as to the students do not lose the motivation but to review and learn new contents. 

After watching the video it is important to make an introduction in the topic, it is necessary to explain the contents that we will deal with. For that reason, we can use this web page where the steam machine is explained.


馃摑 ACTIVITY 1: in this first activity, we will work with Heron's formula to calculate the area of a triangle. First, I leave you a web page and a YouTube video that explains the steps to follow to calculate it and the formulas you need. Secondly, I am going to propose an exercise to carry out in class about what we are learning. Inside the classroom we have different ways that the students can measure, so we can take the ones that have a triangle shape and that the students measure the area of these using the formula of Heron..

Resultado de imagen de ni脙±os estudiando


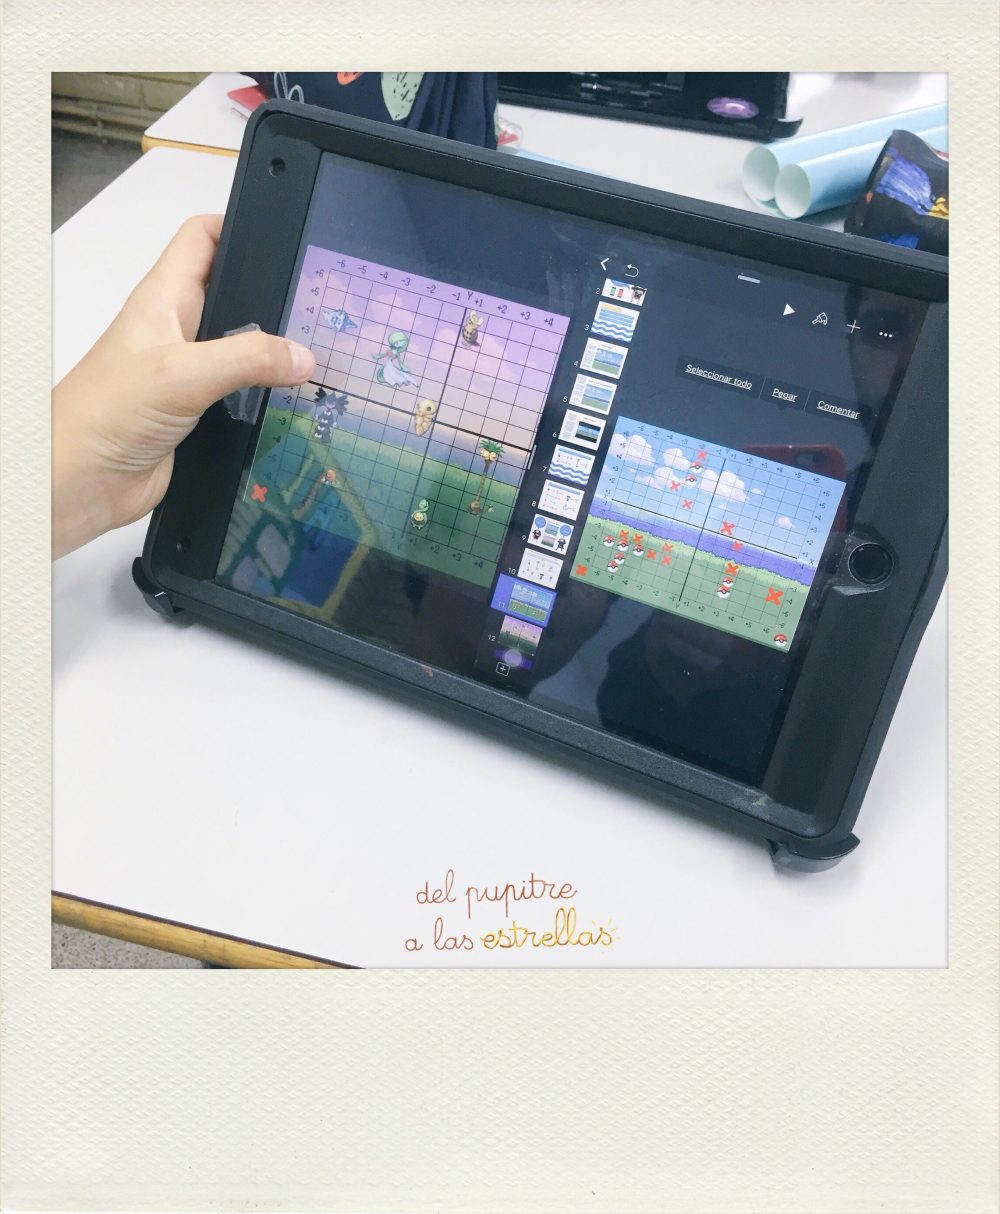
馃摑 ACTIVITY 2: in this second activity I propose a game. The cartography is mentioned in the video, something that will be new for the students, but it can serve as a link to learn it and work with it. we all know the famous game "sink the fleet", because here I leave you several different ways to play with it to learn the coordinates or the different units.

This page shows how to work with the coordinates and how to create our boards. We can use the themes that remain and the students will have a great time creating the boards and then playing with them, without forgetting at all times everything they are learning.

Lab. de matem脙¡ticas: 芒€œHundir la flota芒€ para aprender las coordenadas.

On the other hand, to work with the smallest we can use this grid with units and tens, that for the older ones we can personalize with another type of unit such as time, mass or distance.

Resultado de imagen de juego hundir la flota para matematicas primaria


I hope you enjoyed this entry!

Marta Woman Teacher: Light Skin Tone

martes, 16 de abril de 2019

Measuring: AS ARQU脥MEDES DID

Resultado de imagen de erase una vez arquimedes

Hello everyone!

馃摻️ In today's post, we will comment on the forth video脡rase una vez... Arqu铆medes. This video lasts about 25 minutesIn this happens the same as the last one, we are not going to find out specific contexts talking about measurment issues, but we, as a teachers, have to think about a way to introduce the topic, and in the following lines I am going to give you some clues to do it. 

First of all, we must create a context where we explain our students that the video that we are going to see speaks about several important and transversal contents between subjects but at the end of it we will focus on one of them.

This time our friends talk about the mass, volume and density, and the Teacher will be in charge of explaining who Arqu铆medes was and what he did in relation with mathematics.
In this class we will do games and activities to introduce the topic to the students. All the contents in the video are related with the history and physics subjects, so you can mix the classes so as to the students do not lose the motivation but to review and learn new contents. In addition, we will do 2 experiment, as in the previous classes.

After watching the video it is important to make an introduction in the topic, it is necessary to explain the contents that we will deal with. For that reason, we can use this web page where who was Arqu铆medes is explained, and then, students can do a little research about the things Arqu铆medes created which appear in the video.


⚗️ EXPERIMENT 1: for the first activity we will do a series of experiments with the students to work with the concepts of mass, weight, volume and density. In the following PDF you will find everything you need to know to carry them out, both the materials and their procedures. It is very important to carry out experiments in the classroom so that students can see the theory in practice and thus strengthen the knowledge we want them to learn..

Resultado de imagen de ni脙±os experimentos


馃摑 ACTIVITY 2: the area and surface of some objects is reflected in the video, can be used as an opportunity to review this knowledge. Since we assume that the students have already learned this thanks to the work we did in other classes that we explained some time ago, we can simply review the contents. Here I leave a series of activities and experiments that can be carried out to review the contents.

Resultado de imagen de ni脙±os estudiando


I hope you enjoyed this entry!

Marta Woman Teacher: Light Skin Tone

martes, 9 de abril de 2019

Measuring: PEAS PART 1

Resultado de imagen de erase una vez mendel

Hello everyone!

馃摻️ In today's post, we will comment on the third video脡rase una vez... Mendel y los guisantes. This video lasts about 25 minutesIn this happens the same as the last one, we are not going to find out specific contexts talking about measurment issues, but we, as a teachers, have to think about a way to introduce the topic, and in the following lines I am going to give you some clues to do it. 

First of all, we must create a context where we explain our students that the video that we are going to see speaks about several important and transversal contents between subjects but at the end of it we will focus on one of them.

This time our friends talk about the genetic, and the Teacher will be in charge of explaining who Mendel was and what he did in relation with statistics.
In this class we will do games and activities to introduce the topic to the students. All the contents in the video are related with the history and natural science subject, so you can mix the classes so as to the students do not lose the motivation but to review and learn new contents. In addition, we will do 1 experiment, as in the previous classes.

After watching the video it is important to make an introduction in the topic, it is necessary to explain the contents that we will deal with. For that reason, we can use this web page where the statictis are explained, so we can explain in a brief introduction how we will do the exercises below.


馃摑 ACTIVITY 1: for the first activity that we are going to carry out, we must familiarize the students with the subject in question, that is why in the first place we can do a search in the network about who was Mendel and what relationship he has with the subject of statistics. Once we have contextualized, we can do a series of activities to know the different terms that the statistics encompass. It is important to do this type of knowledge activities so that then we can do without any difficulty the rest of the proposed activities. In this PDF you will find 23 activities to perform and here the different terms that we will use throughout the topic.

Resultado de imagen de ni脙±os estudiando


馃摑 ACTIVITY 2: for the second activity we will return to the video and select a fragment of about 10-20 minutes. Previously, we must select a character (such as Mendel or one of our friends), an object (such as peas), a secondary character, a place and an action. Then we will create a double entry table to record the following data; we will put the fragment of the video and ask the students to write down how many times the previously agreed elements appear. Once we have finished we will pass and study them, ending with a graph where the results are collected.

To make these graphics, I suggest you use the following web pages:
- Piktochart: allows you to create infographics from data and graphics that you can easily create.
- Google spreadsheet: allows you to make different graphs with the data obtained.

Resultado de imagen de ni脙±os estudiando


I hope you enjoyed this entry!

Marta Woman Teacher: Light Skin Tone

martes, 2 de abril de 2019

Measuring: SURFACES AND VOLUME PART 1

Resultado de imagen de erase una vez galileo

Hello everyone!

馃摻️ In today's post, we will comment on the second video脡rase una vez... Galileo. This video lasts about 25 minutes. Unlike the last video, in this one we are not going to find out specific contexts talking about measurment issues, but we, as a teachers, have to think about a way to introduce the topic, and in the following lines I am going to give you some clues to do it. 

First of all, we must create a context where we explain our students that the video that we are going to see speaks about several important and transversal contents between subjects but that at the end of it we will focus on one of them.

This time our friends will not travel anywhere, but the Teacher will be in charge of explaining who Galileo was and what he did to be so famous in the world of mathematics, all this will take us to the topic of flat surfaces and volumes measurements.
In this class we will do games and activities to introduce the topic to the students. All the contents in the video are related with the history and natural science subject, so you can mix the classes so as to the students do not lose the motivation but to review and learn new contents. In addition, we will do 1 experiment, as in the previous classes.

After watching the video it is important to make an introduction in the topic, it is necessary to explain the contents that we will deal with. For that reason, we can use this web page where the measure, surfaces and volumen are explained, so we can explain in a brief introduction how we will do the exercises below.


馃摑 ACTIVITY 1: once the students have done several activities on the subject and know how to do the different areas and volume of the different bodies, we will work on the video and the contents that it offers us. For the first activity that we are going to do, we will use the methodology based on cooperative work, where group students will look for the different inventions created by Galileo and therefore appear in the video, which are the pendulum, the proportional circle, the telescope and investigations on spherical bodies. For them we can make use of a WebQuest created by ourselves or that maybe the students can create it, again, making use of the transversal contents within the curriculum.
Moreover, I leave you a web page where we can find some of the discoveries as well as if explanation.

Resultado de imagen de alumnos haciendo trabajos en grupos


馃摑 ACTIVITY 2: for the next activity we will create our own geometric bodies using some established measures. In this video we can find a brief explanation of how we can do it, and also in this post of another blog of mine you can find more games, activities and experiments related to the same topic. In order to make reference to the measure, when creating the bodies we will give the students a series of established measures, that is, we will say that the area should be 4 cm2, for example. In the same way, we can give geometrical bodies to the students and that they calculate the measures with which we are working.


geometria comestible


I hope you enjoyed this entry and you have accompanied us to the stars!

Marta Woman Teacher: Light Skin Tone

Measuring: MATEAMIGO

Hello everyone! In today's post I want to talk about some math books to use in our classes and complement all previous posts...